Showing posts with label Simply Charmed. Show all posts

Tuesday, March 13, 2012

Krafty Girls Challenge #3- Handmade Flowers

Hello everyone! Our challenge over at Krafty Girls is to incorporate a flower that you made with any type of crafty project.  Make sure to visit the DT and enter your project.  Our challenges are bi-weekly so you have time to play along with us:)

I am so happy with how this card turned out!  Our art teacher is getting married and I got to make her wedding card.  I remembered this cut from Simply Charmed right away.  I didn't like the flowers that were in her bouquet so I used my favorite roses ever from the Art Philosophy cart.


The card base was made with the shadows from both cuts.

 You can see the dimension better at this view.  The bride and groom are popped up.

 These are the most beautiful roses I've ever seen on a cartridge!! They were white and I inked them with Spun Sugar to give them a subtle pink color to match the real brides color and then sprayed them with Perfect Pearls/water mixture to give them some shine.  I dry embossed the dress with this swirl pattern and added some tiny pearls in the center of the flower patterns.

 I LOVE Peachy Keen faces!! These adorable faces are from the Princess and Boy Mates Assortments. I added some glossy accents to her lips and eyes.  The cheeks were colored using SU! chalks.

We can't wait to see your projects using handmade flowers:) Make sure to stop by Krafty Girls for some awesome inspiration and join in the fun!

I am linking up with Peachy Keen Challenge: Anything Goes
Allsorts: Say it with flowers

Tuesday, February 28, 2012

Krafty Girls Challenge #2

This is my 100th post, and it's so cool that it's for a Krafty Girls challenge!

Welcome to the second challenge over at Krafty Girls.  The challenge this time around is Feelin' Lucky-Make a St. Patrick's Day themed project.  Make sure to visit the DT here for more inspiration and to enter your project!

I had to go with Simply Charmed for this one!  All the cuts are from this one cartridge and they are so cute.
The sentiment is from MCT.  I had to mask part of the sentiment so that I could stamp half of it on top and half of it on the bottom to make it fit on the pot of gold.  The sentiment was then heat embossed.

The cute face is from the Boy Mates set from Peachy Keen.

I added pop dots to lift up some of the cuts.

I am linking up with:
I also wanted to announce the winner of the cartridge from the blog hop giveaway:
#25 Rachel
Please email me at encarnacion dot maribel at gmail dot com within one week with your address :)

I'm looking forward to seeing all of your creations!

Tuesday, January 17, 2012

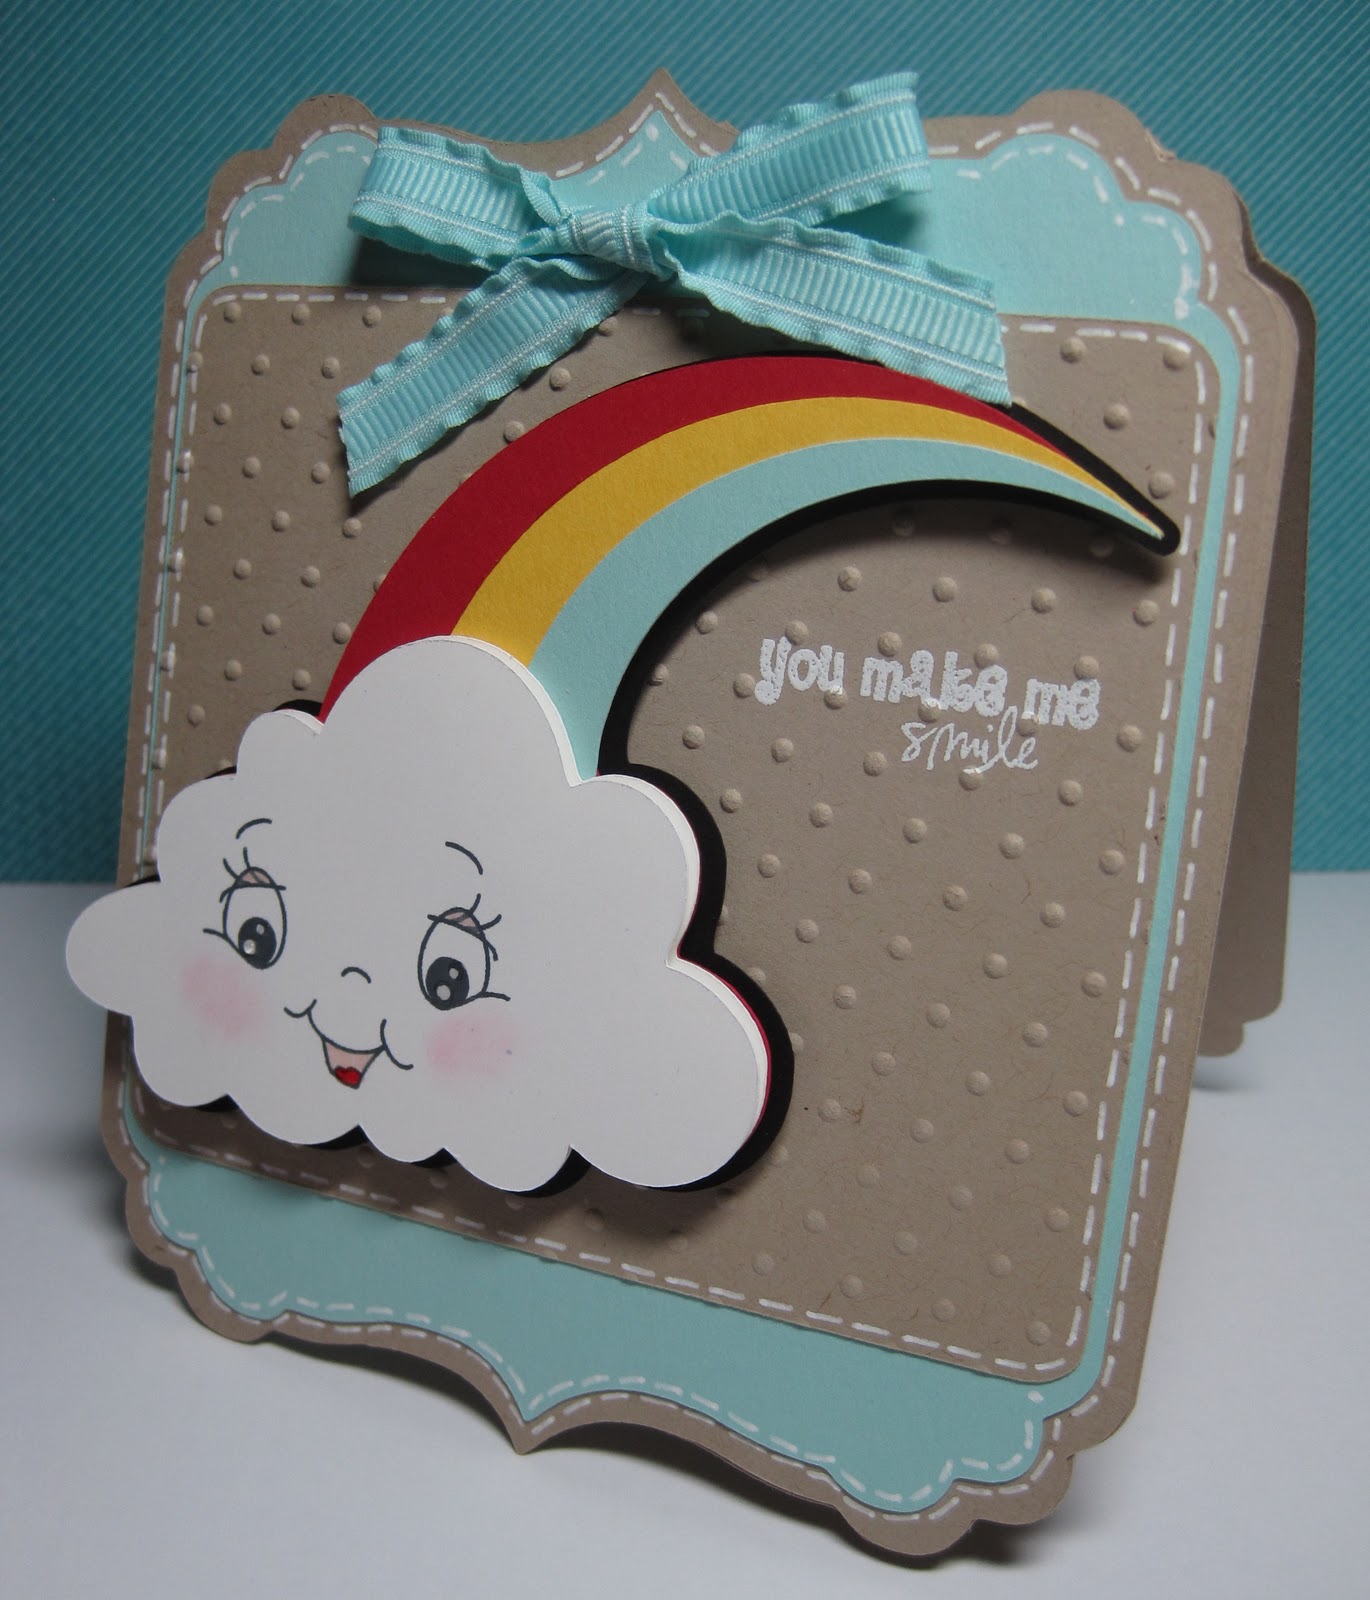
You Make Me Smile!

I saw that Peachy Keen was having a linking party and it's anything goes!! I love anything goes challenges.

Here is my card:

I have been wanting to use this image for a long while.  It's from Simply Charmed.


This sentiment is from My Creative Time.  It went perfectly with this face!


The face is from PKS Wide Eyed Kids Assortment. How cute is this face??


Recipe: 
Simply Charmed: Rainbow
Elegant Edges: Book layer welded together to make this card base.
Sentiment:  MCT-Turn That Frown Upside Down Set
Face: PKS-Wide Eyed Kids Assortment

I am linking up to: PKS linking party
Little Scrap Pieces: Anything Goes
Sentimental Sundays: Ribbon


Thank you for visiting!

Wednesday, December 14, 2011

Snow Globe

I have been wanting to use the snow globe from Doodle Charms for a while but I don't have this cartridge.  I went into my Gypsy and designed this snow globe from three circles, two rectangles and a trapezoid.  It took a while, but I think it ended up looking a lot like the real cut :)

I have a drawing of a snow globe in my classroom that inspired this card.  It is so cute, I wish I could find a real snow globe like it to add to my collection.

Here is a picture of my card.


I am loving the way that it turned out!  I added some glossy accents all around the globe to make it look like glass.  I also spritzed the snow with Perfect Pearls for a shimmery look.  Wish it would show up in pictures!  For extra sparkle, I added a rhinestone to her bow. 

Recipe:
Face: Peachy Keen Critter Faces- Small Assortment
Snow Globe: Gypsy Wanderings- I welded all the shapes together to make this card base. 
Tree: Winter Woodland
Penguin: Simply Charmed
Twine: Twinery


I am linking up to:

Saturday, August 27, 2011

Birthday Sundaes Challenge #24 Inspiration Photo

Hello everyone! First of all, I hope all of you in the path of Hurricane Irene are safe and sound.  My thoughts are with you and your families.


Today for our Birthday Sundaes challenge we have an inspiration photo for you right here:

cupcake+flags.jpg

I'm pretty new to the photo inspiration idea and I have to say that I am loving it!  What I find really fun is that you can take any element that gets your creative juices flowing and use it to create.  From this photo I was inspired by the pretty colors and the cupcakes.  

So here is my card:

I LOVE penguins and when I thought of this card and the colors, I knew I had to use this cute penguin!


Here is a side view.


How cute is this Peachy Keen face?  I added glossy accents to her lashes and to the cherry on her cupcake.


I added a bunch of pop dots to give her and the cupcake dimension.


I am loving this scalloped oval shape from Elegant Edges. 

Recipe: 
Elegant Edges: Scalloped Oval welded to make card base
Cricut Classic Font: Oval
Simply Charmed: Penguin
Slumber Party: Cupcake
SU!: Modern Label Punch, Crumb Cake card stock
Peachy Keen Stamps: Critter Faces- Large Set
Pink By Design: Sentiment
Twinery: Strawberry Sorbet Twine
Recollections: Yellow, pink, and white card stock
DCWV: Playtime stack- polka dot paper

Have a great weekend!


Wednesday, August 24, 2011

Berries for the Teacher

When most people think of school, they think of apples, I know I always did.  That was until last year.  One day one of my students, I will call him David, came to class and said he had something for me in his backpack.  I never would have expected his gift!  It was a little basket of strawberries!!!!  He had heard me saying that I loved strawberries and while he was out shopping with his mom, he asked if he could bring his teacher some strawberries.

At our school, gifts are not common because of the economic situation in our area.  Knowing that David cared enough about me to want to bring me a gift was more than enough, but to bring me my favorite fruit??? It was one of the kindest things I have ever seen.

So here is my card to remember this "berry" special day :)


Here is a side view.  I heat embossed the sentiment and dry embossed the background.


I added glossy accents to his eyes and to the strawberry to make it look all juicy!


I added stitching, twine, and pop dots for dimension.


This sentiment is from My Creative Time's 9th release.  The whole release is a must have!  Emma has such cute stamps but this release is the most versatile because it has a sentiment for pretty much any occasion and holiday.


I am so happy with how this card came out.  I don't think I will ever let this card go :)

Recipe:
Everyday Paper Dolls: Boy and clothes
Wild Card: Card Base
Simply Charmed: Strawberry
Cricut Classic Font: Circle
My Creative Time: Sentiment
PKS: Boy Mates Assortment-Face
Recollections: brown, blue, black, cream, red and white card stock
DCVW: Stripes, Dots, and Lines stack- Blue card stock
SU: Whisper White embossing powder
Twinery: Maraschino Twine


I am entering this card into the following challenges:


Sunday, August 14, 2011

Birthday Sundaes Challenge #22- Brads

We have a really fun challenge for you at Birthday Sundaes! The challenge is to make a birthday card using at least three brads.  Easy and fun!

Please stop by and take a look at the design team's cards for inspiration. This week we also have Laurie from Scraps By Sissy as our guest designer!


This is my card:

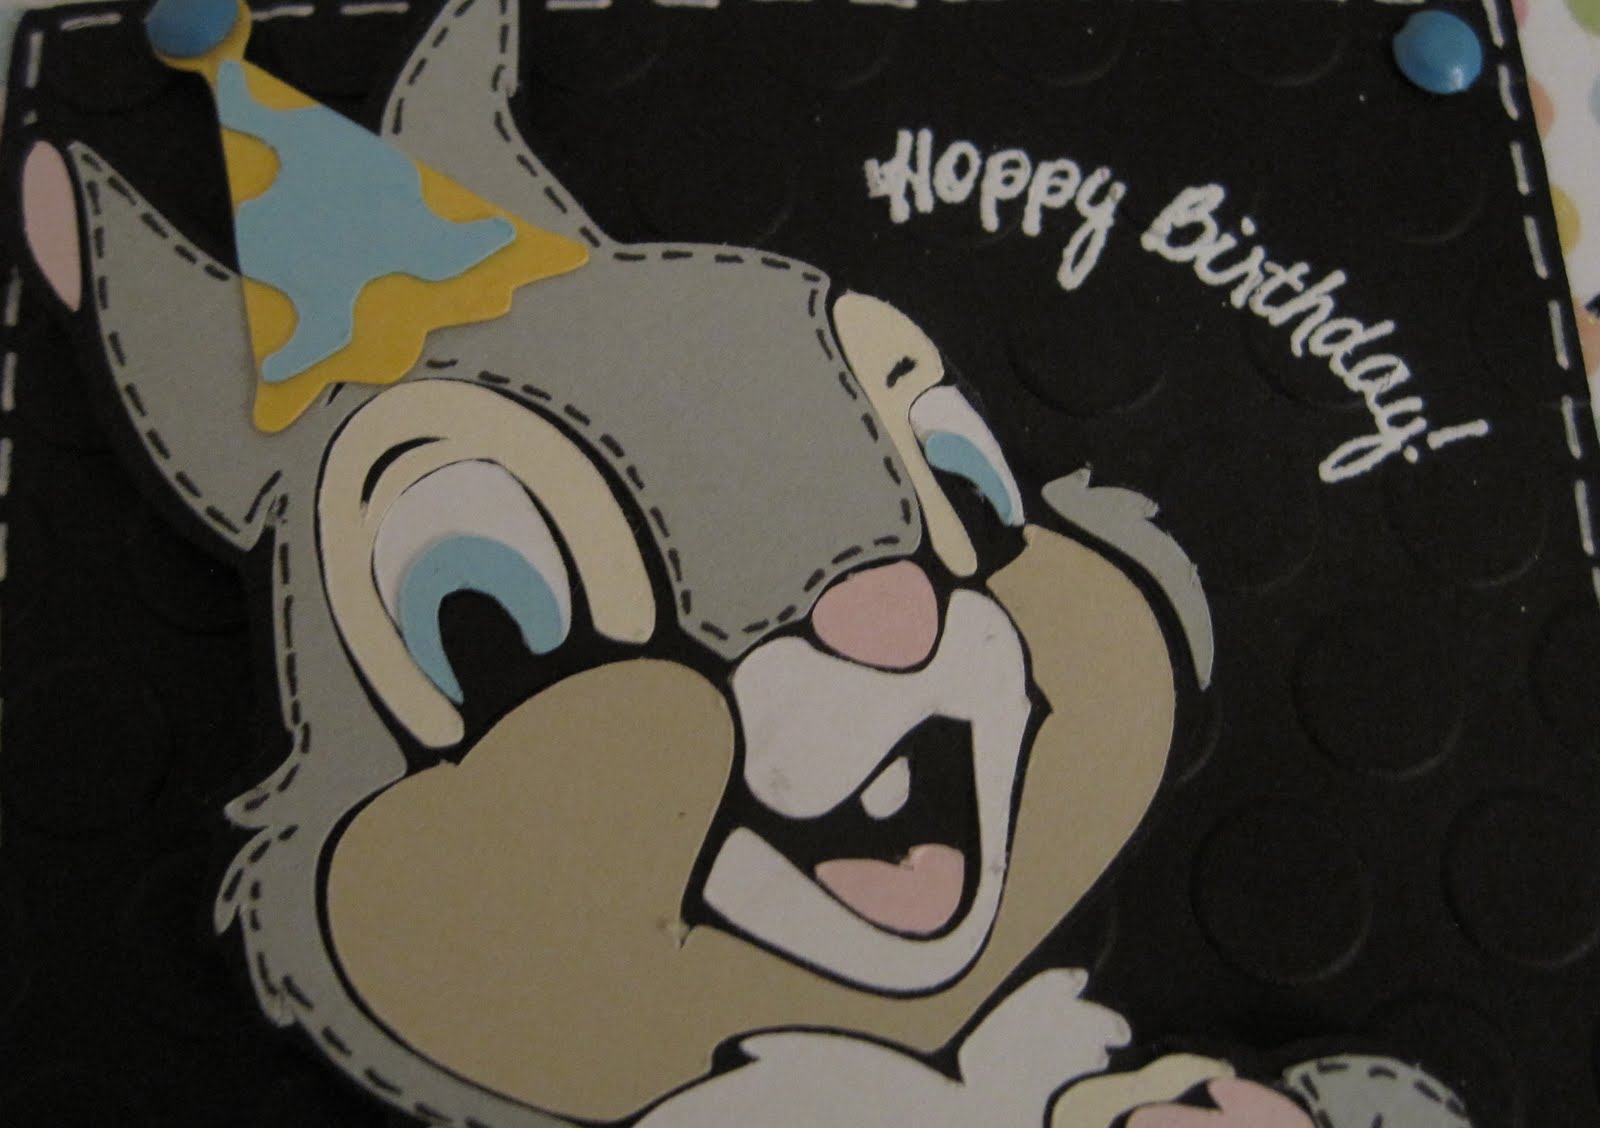
Ever since I saw this sentiment I kept thinking of Thumper from Bambi.


I placed one brad on his birthday hat and three more brads on the inner corners of the card.  I faux stitched around the rectangle and parts of Thumper's body.  I wanted it to look like he was a stuffed animal. 


This sentiment says "Hoppy Birthday."  I heat embossed it in white.  I love his expression!

Here is a side view:

The base was welded together from the Elegant Edges cart.

Recipe: 
Disney Classics: Thumper
Simply Charmed: Party Hat
Elegant Edges: Scalloped Rectangle
Pink By Design: Sentiment
DCVW: Polka Dot Paper
Recollections: Blue, yellow and black card stock
SU!: Whisper White embossing powder


Wednesday, July 27, 2011

Decorate To Celebrate Guest Designer Challenge #5

Recently I found out about this awesome blog where you can share creations that you make to decorate for celebrations.  You can visit here: Decorate To Celebrate.  I had made a cake for a birthday party and I didn't think it would fit into any challenges as far as crafting went, but I was approached by Amy from Decorate to Celebrate to enter their challenge.  I was so happy to have found a challenge where I could share my cake and cupcakes :) I LOVE challenges!  I really love that they have themes for each challenge, but they also accept any type of decorations that you create to celebrate all special occasions!

A few days after I entered my cake I was approached by Rhonda to be a guest designer for challenge #5.  I was so honored!!  Thank you ladies!!

The theme for this challenge is BBQ or block party.  If you have made BBQ or block party decorations, or any other type of party decorations, make sure you enter your special projects! 


My dad's birthday is coming up and he loves BBQ's so I decided to go with a BBQ theme.

Here is a picture of the banner I made.  Sorry my camera refused to focus:( 


On the left side I placed this little man. I love his red hair!


On the right side I placed this BBQ grill.  These images on the Block Party cart are so cute!


This font is so nice! It was easy to layer and it reminds me of Speed Racer for some reason.  It is from Life's a Party


I popped up all images and letters.  You can see it better here.


For the invitation I tried to pick something easy to make so that I could mass produce it.  I chose this hamburger from Simply Charmed. Turns out it wasn't as easy to assemble as I had hoped, but it's cute. The hamburger patty was embossed with the Swiss Dots folder and the lettuce was embossed with the Swirls folder.


Here is the inside of the invitation.  I was so excited when I finished it! I sent a copy to my mom and she gave me some bad news...the BBQ is for the 30th and my dad is turning 53 not 55... Oops! How embarrassing!! We had a good laugh over it!  


I want to thank Rhonda and Amy, from Decorate to Celebrate, for having me as a guest designer! I am soooo honored!  Please make sure you visit here: Decorate To Celebrate


Recipe:
Cricut Classic Font: Triangle (Stretched out with Gypsy)
Block Party: Man, grill, watermelon slice
Life's a Party: Font
Simply Charmed: Hamburger
Paper: Recollections


Thursday, July 7, 2011

Summer Fun!

Today Hello Kitty made a huge sandcastle:)

This is a shaped card, the castle was from Create a Critter. I took two Castle shadows and welded them together to make the base of the card.

Hello Kitty is from the Hello Kitty Font cart and the Star Fish is from Pack Your Bags.  The handle and the little shovel is from the Simply Charmed cart and the bottom of the bucket is from Gypsy Wanderings. 

I'm entering this card into the Bitten By the Bug  Star Fish Challenge, the Sunny Days challenge at My Craft Spotcookingwithcricut challenge-41 - Anything goes and The Summer Time Fun challenge at gettingcricky.com.


Here she is wearing her little polka dot bathing suit! 


I love how the little shovel looks.  I was so happy it was on a cartridge!

 
Pin It button on image hover